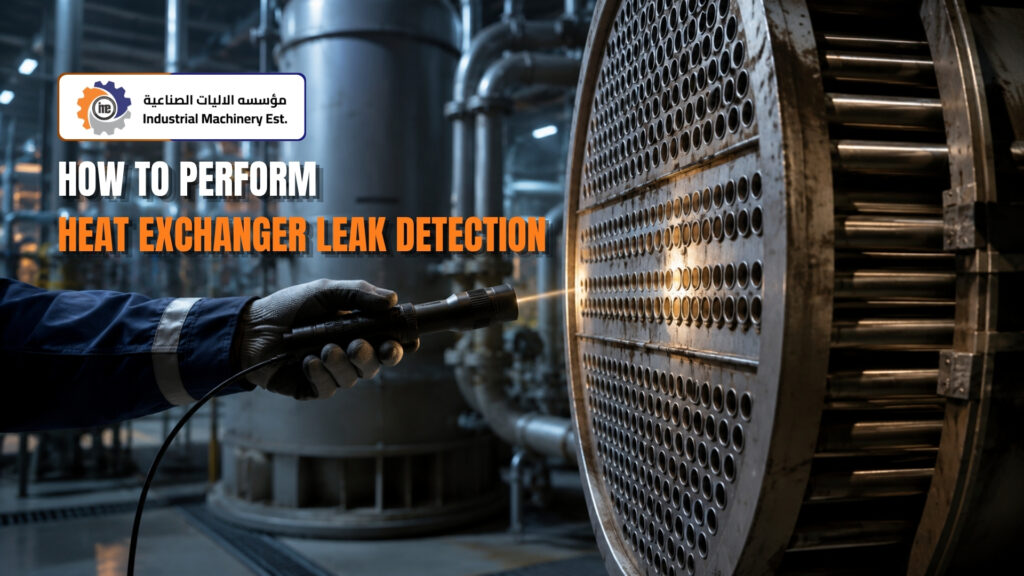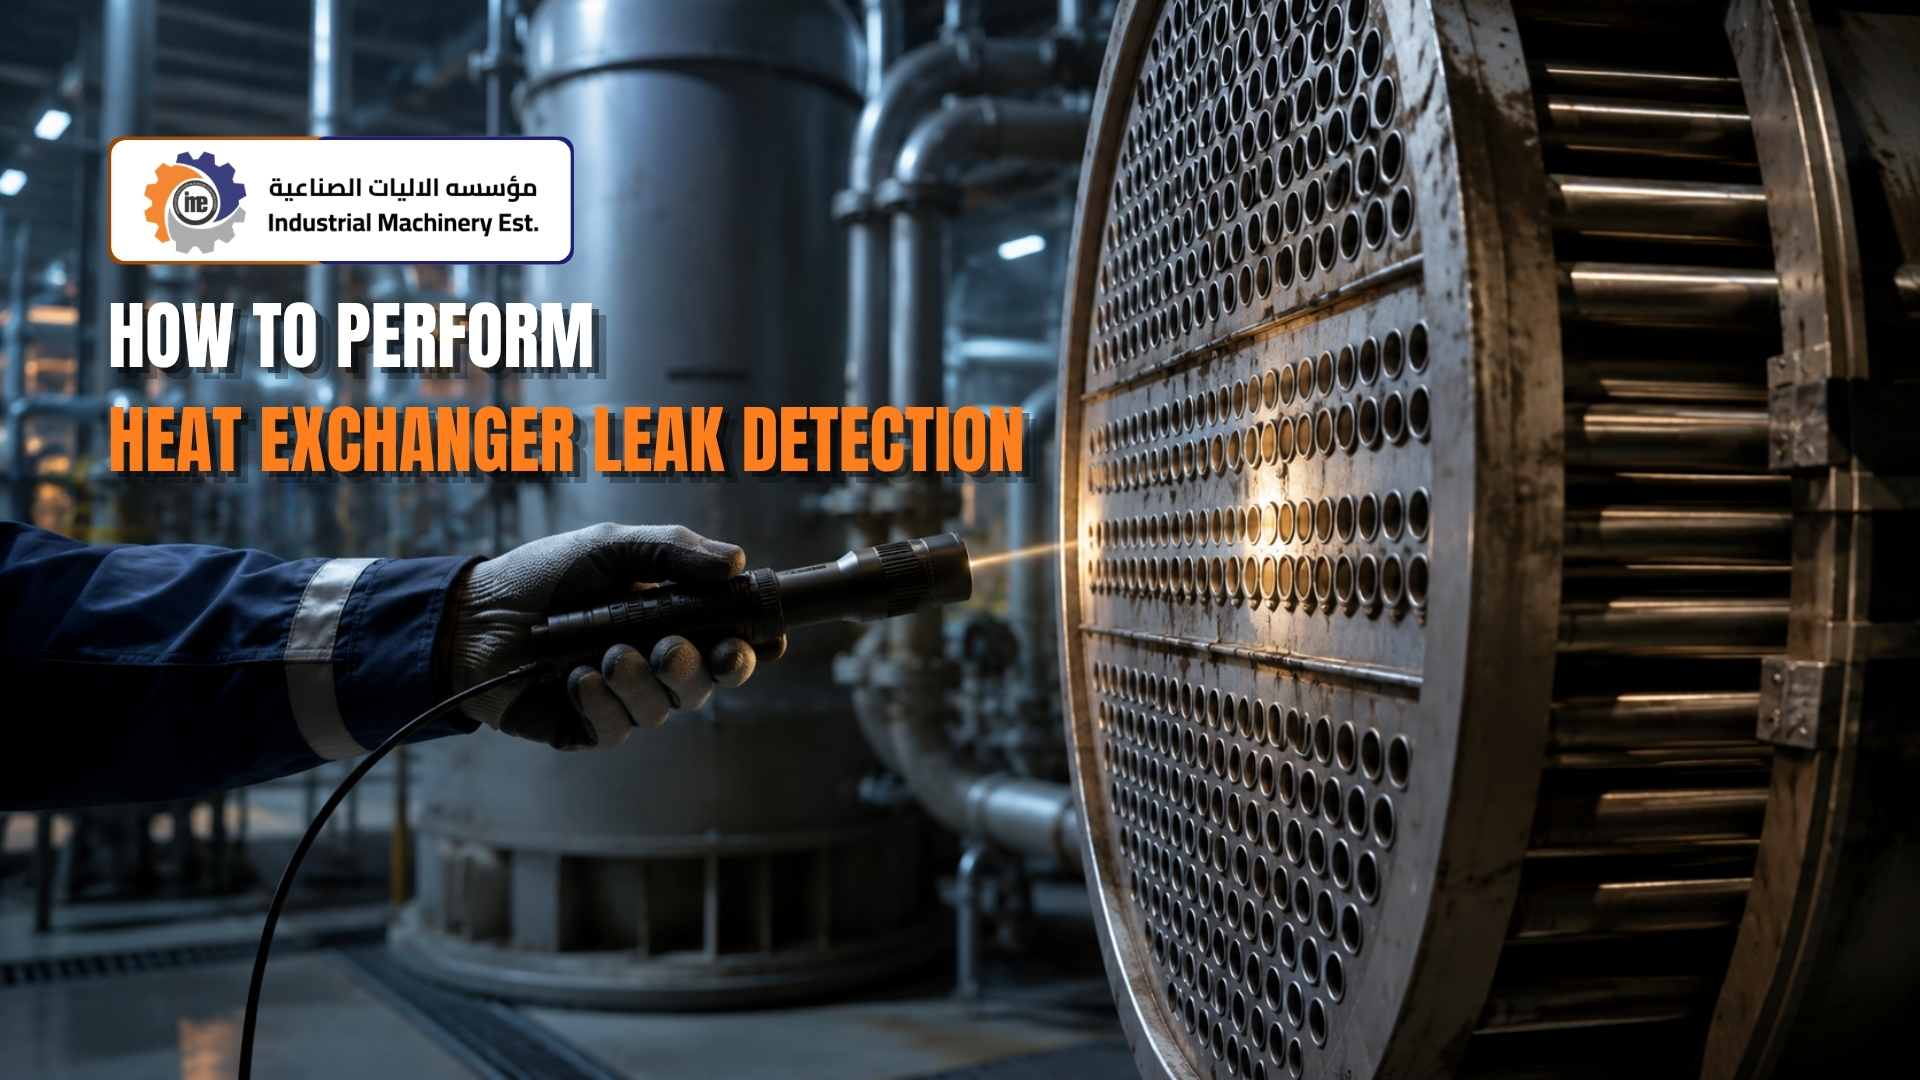
Contaminated product, falling efficiency, strange pressure drops, and a shutdown nobody planned for. Most of it starts with a tiny crack that nobody found in time. The short answer is that heat exchanger leak detection follows a clear order in which isolate the unit, clean and inspect it, pressure test it, then confirm the exact leak point with a tracer or ultrasonic method.
Doing it in that sequence saves days of guesswork.
Read the full article for each step, the testing options, and the safety rules you should never skip.
Why Heat Exchanger Leak Detection Matters
A leaking tube does more than waste fluid. It lets two process streams mix, which ruins product quality, damages downstream equipment, and creates a real safety hazard. In a refinery, cooling water crossing into a hydrocarbon stream is an expensive event.
Early heat exchanger leak detection also protects your budget. Finding a defect during a planned shutdown costs a fraction of an emergency repair, so heat exchanger leak detection belongs in every turnaround plan.
Warning Signs You Should Not Ignore
Before heat exchanger leak detection begins, listen to what the unit is already telling you. Common signs that call for heat exchanger leak detection include:
- Unexplained pressure drop on the shell side or tube side
- Loss of heat transfer efficiency with no change in load
- Contamination in cooling water or condensate samples
- High make up water demand in a closed loop
- Wetness, staining, or corrosion near nozzles and gaskets
Step 1: Isolate, Drain, and Clean the Unit
Every safe heat exchanger leak detection job starts with proper isolation. Shut the unit down, lock the block valves, relieve the pressure, and drain both sides fully. Follow your plant permit system and confirm zero energy before anyone opens a flange.
Cleaning comes next. Scale, oil films, and sludge hide small cracks and cause false readings, so a chemical or mechanical cleaning pass improves the accuracy of the entire heat exchanger leak detection process.
Step 2: Visual Inspection and Data Review
Open the channel heads and examine the tube sheet, tube ends, welds, baffles, and gaskets. Look for pitting, erosion at tube inlets, cracked welds, and gasket damage. A borescope lets you inspect tube interiors without pulling the bundle.
Pair this with operating data. Trends in outlet temperature, flow, and differential pressure usually point heat exchanger leak detection toward the right side of the exchanger.
Also: Complete List of Chemicals Used in Petrochemical Manufacturing
Common Heat Exchanger Leak Detection Methods
Choose the heat exchanger leak detection method based on unit type, service, and how small a leak you must catch.
- Hydrostatic test. Fill one side with clean water, pressurize above operating conditions, and hold. A pressure drop or visible weeping confirms a defect. This is the most widely used heat exchanger leak detection test.
- Pneumatic bubble test. Apply low pressure air or nitrogen and brush soap solution on joints and tube ends. Bubbles mark the fault instantly.
- Helium mass spectrometry. Inject helium on one side and scan the other. This is the most sensitive heat exchanger leak detection option and suits critical or high purity service.
- Ultrasonic testing. Place a tone generator inside and scan with an ultrasonic detector. It is fast and works when the unit cannot be flooded.
- Eddy current inspection. Probe each tube to map wall thinning and cracks. It finds tubes about to fail, not only those already leaking.
- Dye penetrant testing. Best for surface cracks in welds and tube sheet joints.
Locating and Marking the Exact Leak
Proving a leak exists is only half the job. Number the tubes on a tube sheet map, then record every defect found during heat exchanger leak detection so the repair crew knows where to work.
The usual fix is plugging, re-rolling, or replacing the affected tubes. Repeat heat exchanger leak detection after the repair to prove the unit holds.
Safety Rules During Heat Exchanger Leak Detection
- Never exceed the maximum allowable test pressure on the nameplate
- Use calibrated gauges and relief devices
- Clear the area of non essential people
- Vent trapped air fully before any hydrostatic test
How Often Should You Test
Most plants schedule heat exchanger leak detection during every major turnaround, with extra checks for units in fouling, corrosive, or high cycling service. Critical exchangers deserve a shorter interval, and any unit with the warning signs above needs heat exchanger leak detection immediately.
For refineries, power plants, and petrochemical facilities in Saudi Arabia, Industrial Machinery Est. provides complete heat exchanger leak detection, cleaning, testing, and repair support. With more than three decades of field experience and approved vendor status with Saudi Aramco, SABIC, Tasnee, and Marafiq, the team finds defects early and returns your equipment to service on schedule.