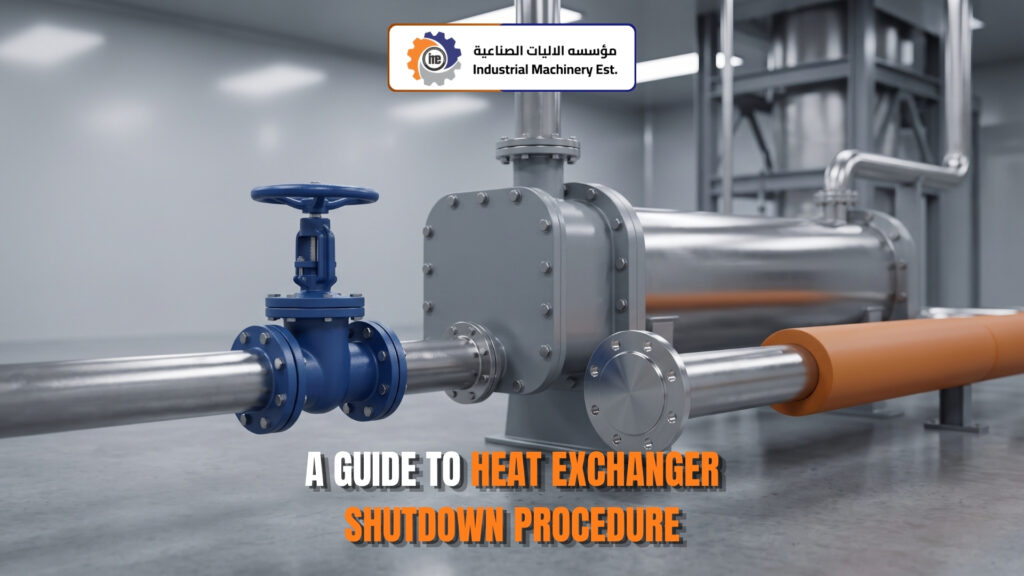
Most unplanned exchanger failures do not happen during operation. They happen in the few hours when the unit is being taken offline. Tubes crack from thermal shock, gaskets blow because pressure was released in the wrong order, and technicians get burned by fluid that everyone assumed had already drained. Worse, the damage often stays invisible until startup, when the unit leaks or underperforms and the plant loses another day of production.
The short answer: cool the unit gradually, stop the hot side first and the cold side last, depressurise completely, drain and purge both circuits, then isolate and lock out before anyone touches a flange. Get that order right and most shutdown damage simply does not occur.
If you want the full heat exchanger shutdown procedure, including the checks that protect both your tubes and your people, keep reading.
Why the Sequence Matters More Than the Speed
An exchanger holds a lot of stored heat in its metal, even after flow stops. Shutting off the cooling medium too early traps that heat inside the bundle, which can boil residual water, warp tubes, or pull joints apart. The metal on the shell side and the tube side also cools at different rates, and that difference creates stress at the tubesheet.
This is why a rushed shutdown is more expensive than a slow one. Ten extra minutes of controlled cooling costs nothing. A pulled tube costs a bundle replacement and days of downtime.
Preparation Before the First Valve Moves
Half of a safe heat exchanger shutdown procedure happens on paper before anyone reaches the unit. Confirm the shutdown window with operations so downstream equipment is not starved. Review the P&ID and the process description, because valve positions cannot be judged from the drawing alone.
Before starting, make sure you have:
- A signed work permit and, where required, a confined space or hot work permit
- Lockout and tagout tags for pumps, fans, and control valves
- Confirmed drain routing and a receiving vessel for hazardous fluids
- Correct PPE for the service fluid, including face protection and chemical resistant gloves
- The manufacturer’s operating manual for the specific exchanger type
The Heat Exchanger Shutdown Procedure Step by Step
The exact sequence varies by design, but the logic below applies to most shell and tube units in process service.
- Reduce the hot side gradually. Close the hot fluid inlet valve slowly to let the unit cool at a controlled rate instead of dropping temperature in one step.
- Keep the cooling medium running. Cold flow stays on until the shell metal has cooled. This is the single most skipped step in any heat exchanger shutdown procedure.
- Close the hot outlet valve once inlet flow has stopped and pressure has equalised.
- Stop the cold side last. Close the cold inlet, then the cold outlet, in that order.
- Depressurise both circuits. Vent through the high point vents and confirm the pressure gauge reads zero. Never rely on a closed valve as proof of zero pressure.
- Drain both sides completely through the low point drains, routing fluid to the approved disposal point.
- Purge with nitrogen or air if the service involves hydrocarbons, toxic media, or anything that leaves flammable vapour behind.
- Isolate mechanically. Install blinds or spades and apply lockout and tagout before the unit is handed over for maintenance.
Thermal Shock: The Failure Nobody Plans For
Thermal shock happens when metal is cooled or heated faster than it can expand or contract. In exchangers it shows up as leaking tube-to-tubesheet joints, cracked welds, or a bundle that will not seal again after reassembly.
Avoiding it is mostly about patience. Ramp temperature down in stages rather than closing valves fully in one movement. In units with fixed tubesheets, where the tubes and shell cannot move independently, the risk is higher and the cooling ramp should be slower.
Draining, Purging, and Gas Testing
A drained exchanger is not automatically a safe exchanger. Fouling deposits, sludge, and dead legs hold liquid even after drains stop running. On sour or hydrocarbon service, deposits can release gas for hours after the unit is opened.
Before any flange is broken, perform gas testing at the vents and confirm oxygen and LEL readings are within limits. If the unit will stay offline for a long period, leave it dry or fill it with a suitable preservation fluid to prevent internal corrosion during the idle time.
Also Read: 5 Things to Do Before Mineral Scale Removal in Equipment
Mistakes That Turn a Routine Job Into a Repair
- Closing outlet valves before inlet valves, which traps pressure inside the shell
- Shutting cooling water off first, allowing residual heat to boil trapped liquid
- Treating a closed valve as an isolation and skipping blinds
- Opening the channel cover while the unit is still warm
- Failing to log the shutdown, so the next crew has no record of what was found
A written heat exchanger shutdown procedure kept at the unit prevents most of these, especially when turnarounds are years apart and the crew has changed.
Preparing for Cleaning and Inspection
Once the exchanger is cold, drained, and isolated, it is ready for inspection. Record the differential pressure and inlet and outlet temperatures from just before shutdown, because those numbers tell you how badly the unit was fouled and help select between chemical cleaning, hydrojetting, or mechanical tube cleaning.
A borescope check of a sample of tubes before cleaning gives a useful baseline and often reveals whether scale, biofouling, or corrosion is the real problem.
Final Thoughts
A good heat exchanger shutdown procedure is not complicated, but it is unforgiving about order. Cool slowly, stop the hot side first, depressurise and drain fully, verify with gas testing, and isolate mechanically before opening anything. Document what you find each time, and every shutdown after that becomes faster and safer than the one before it.