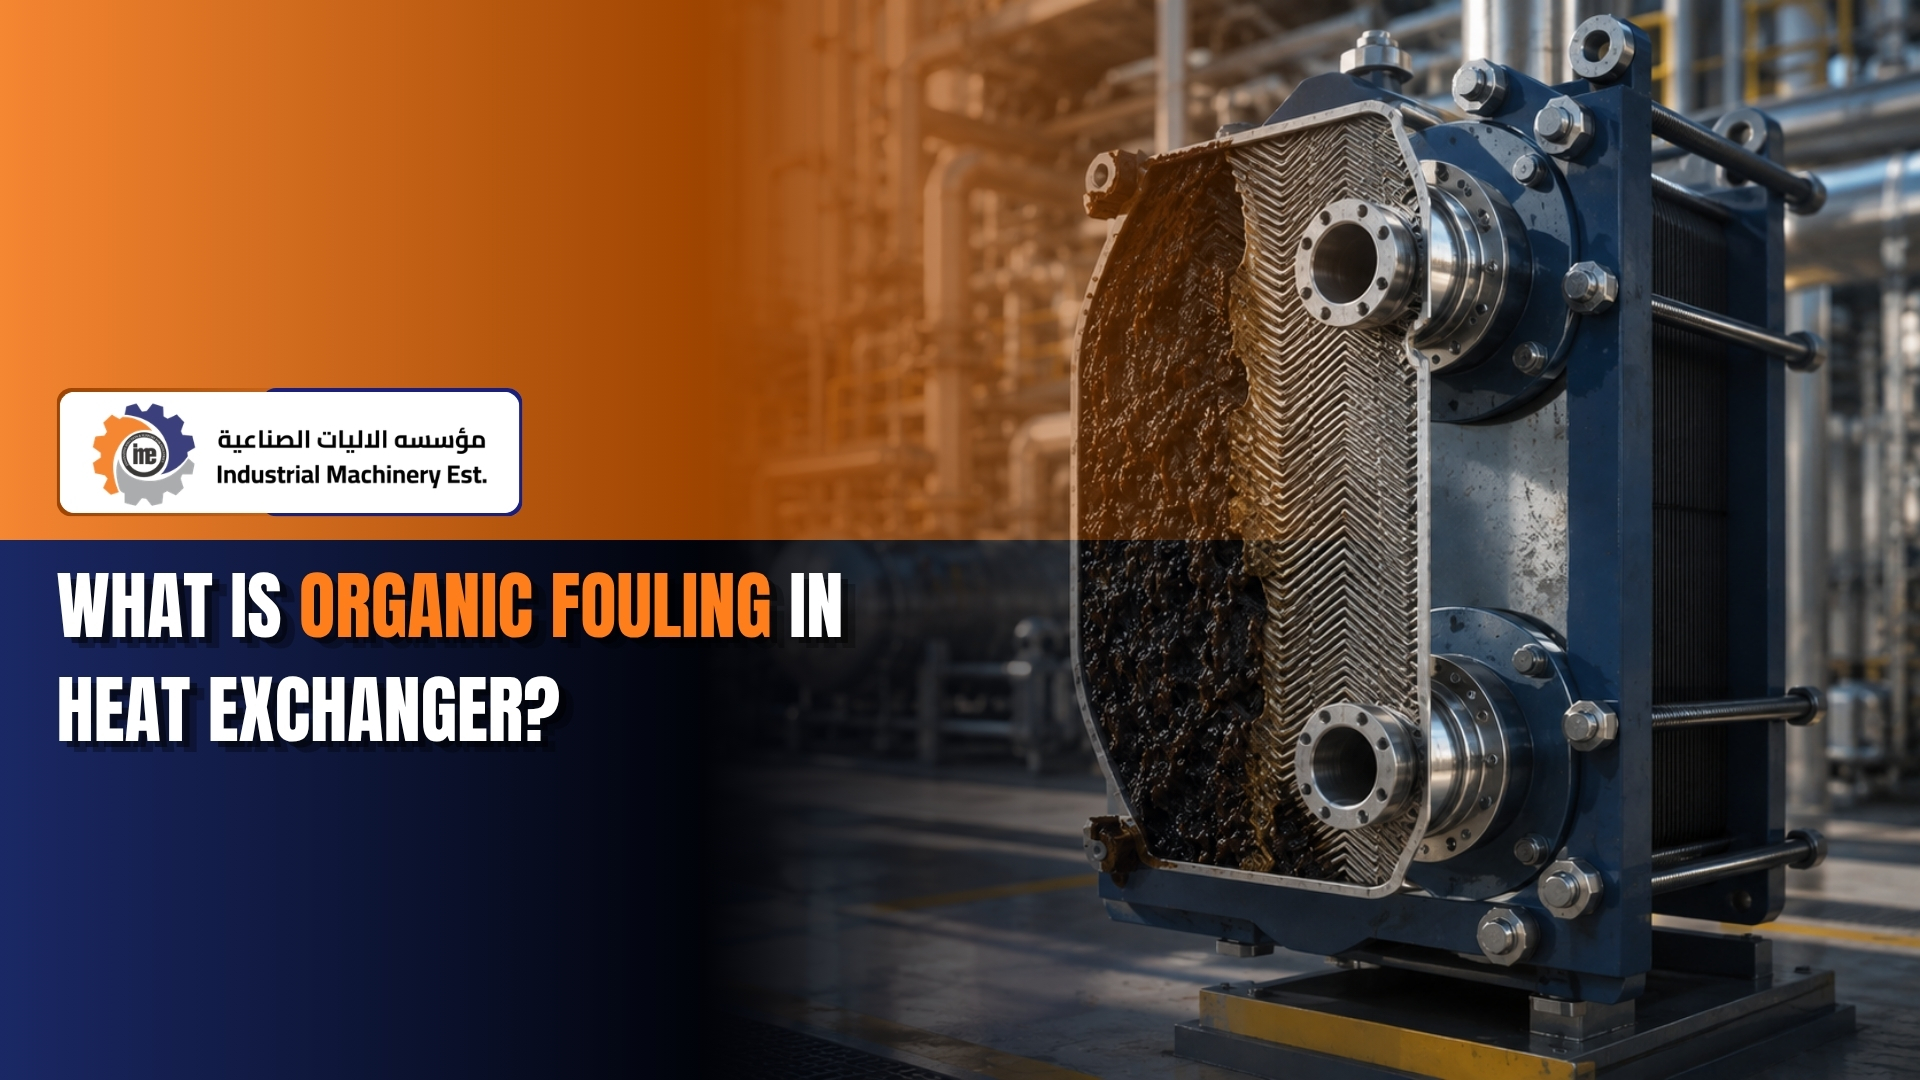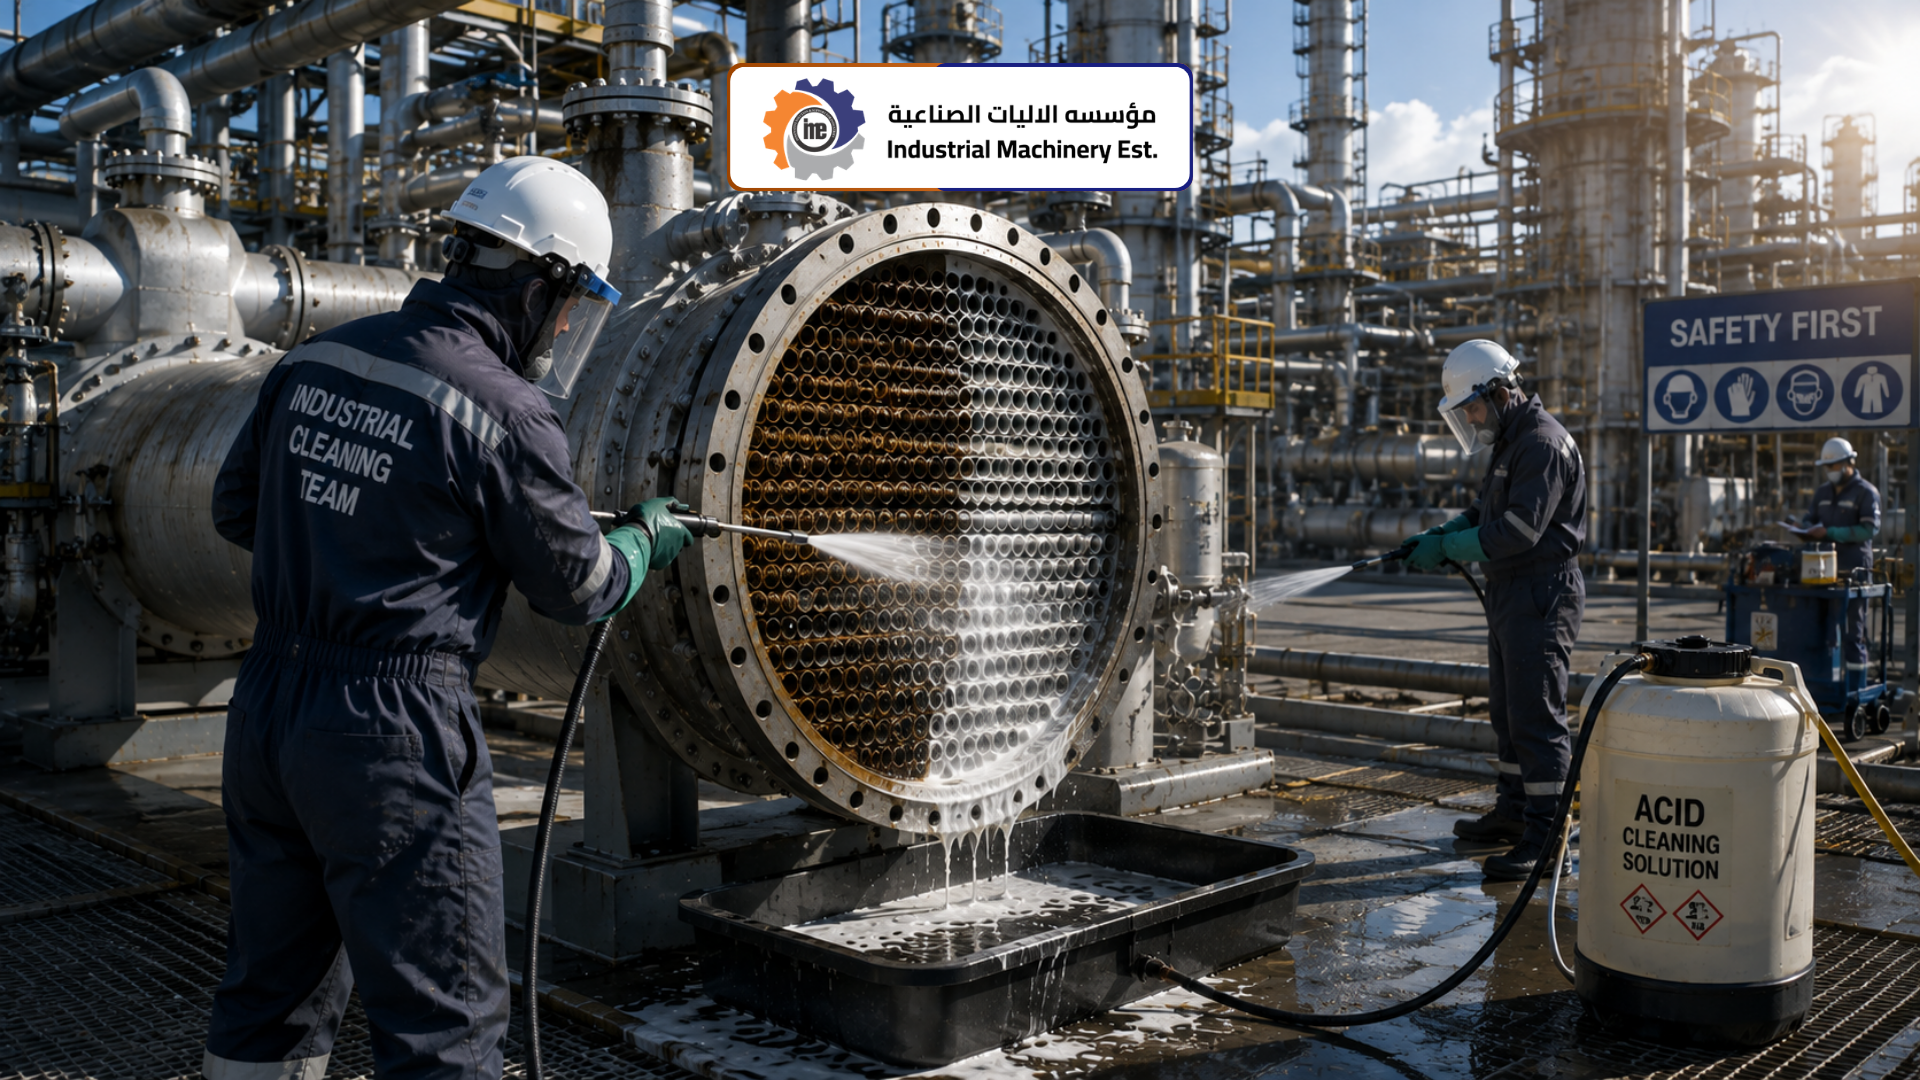
A single leaking tube can shut down an entire process unit. Cross contamination, product loss, unplanned downtime, and serious safety risks all begin with one weak point that nobody caught in time. The good news is that hydrotesting and leak testing of heat exchangers can expose these failures before they cost you.
In simple terms, you isolate the unit, fill it with clean water, raise the pressure to 1.5 times the design pressure, hold it, and watch for pressure drops or visible leaks. Want the complete step by step process? Read the full article below.
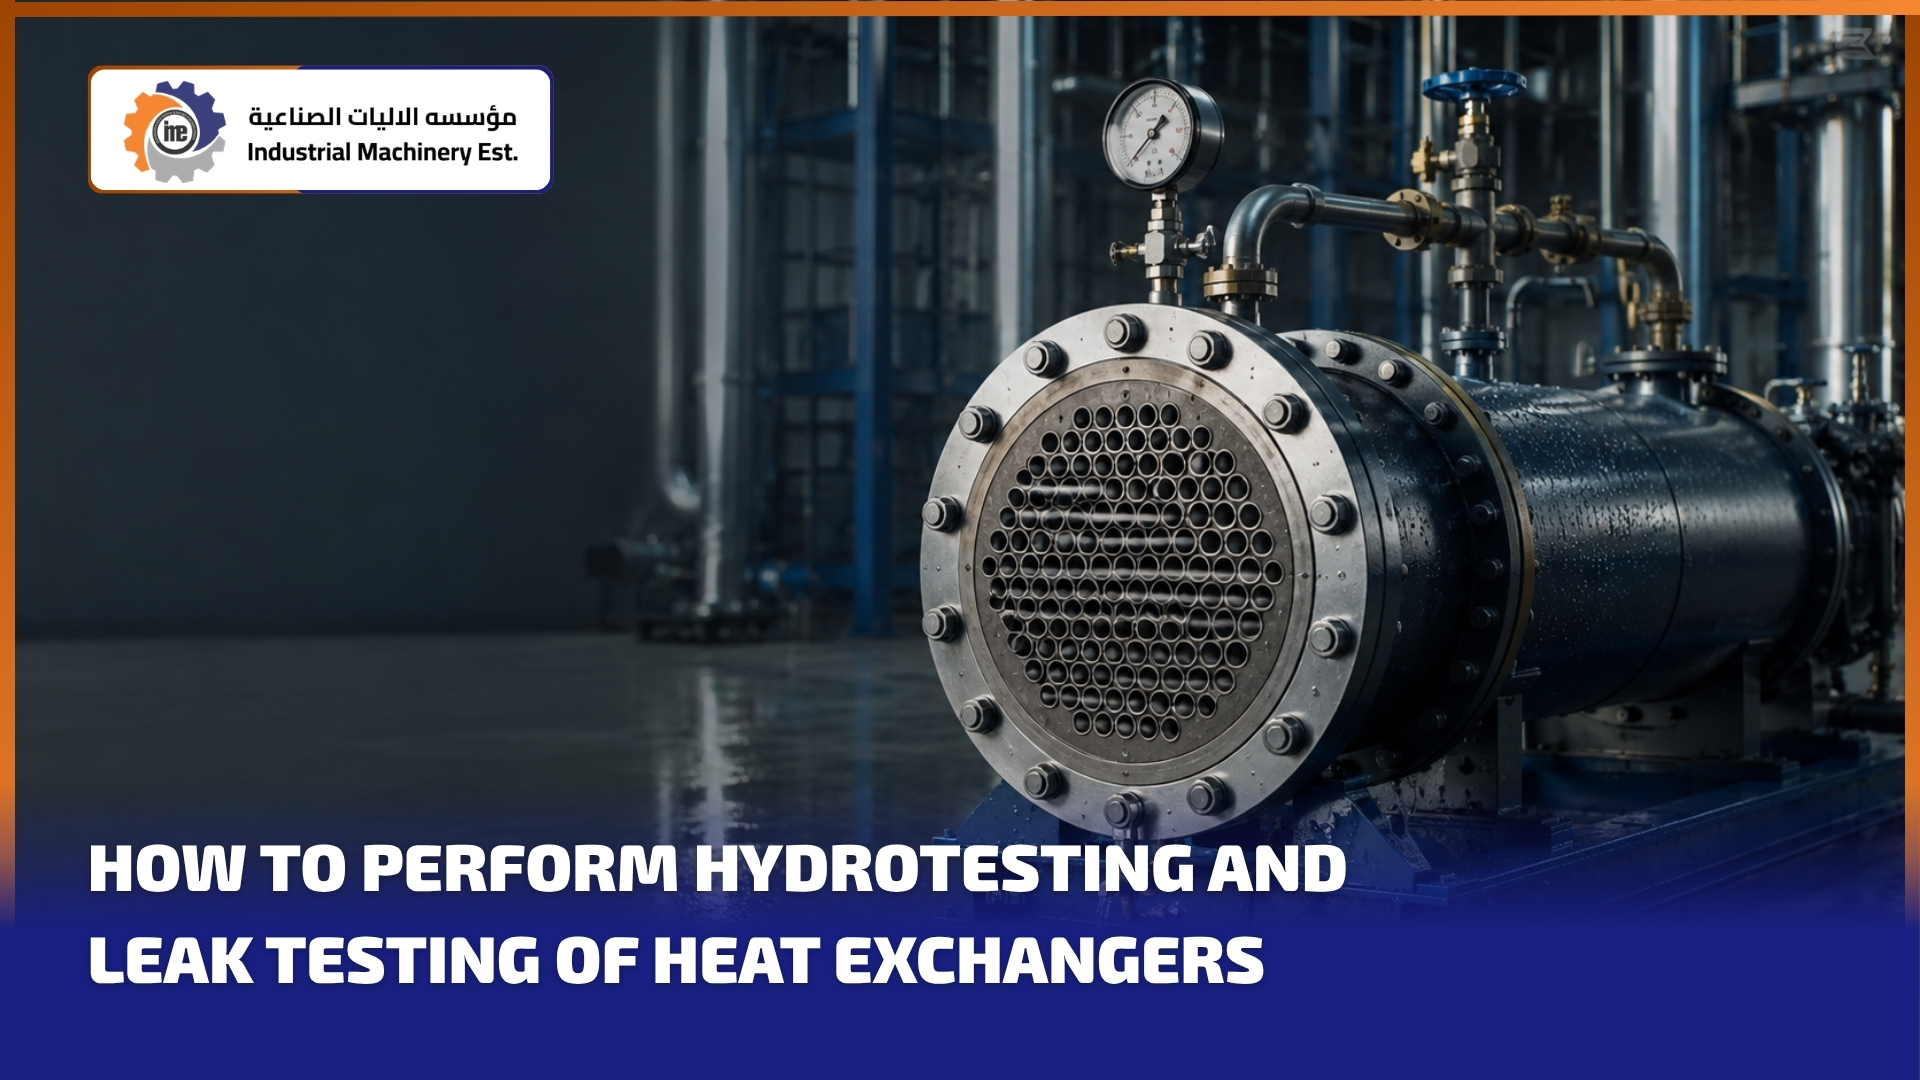
What Is Hydrotesting of Heat Exchangers?
Hydrotesting of heat exchangers is a pressure test that uses water to confirm the structural integrity of the shell, tubes, and joints. The exchanger is filled with water, pressurized above its normal operating pressure, and monitored for leaks or deformation.
Water is used because it is nearly incompressible, which makes the test far safer than testing with air or gas. Most industry standards, including TEMA and ASME Section VIII, require a hydrostatic test pressure of 1.5 times the design pressure, corrected for temperature.
Why Leak Testing of Heat Exchangers Matters
Leak testing of heat exchangers protects both your equipment and your process. Even a pinhole leak in a single tube allows fluids on the shell side and tube side to mix, which can ruin product quality, corrode internals, and create dangerous reactions.
Regular hydrotesting and leak testing help you:
- Detect leaking tubes early before they cause cross contamination
- Verify repairs after retubing, plugging, or welding work
- Meet inspection requirements during shutdowns and turnarounds
- Avoid unplanned downtime and expensive emergency repairs
- Protect personnel from sudden pressure failures
Preparing the Heat Exchanger for Testing
Good preparation is half the job. Before hydrotesting heat exchangers, the unit must be isolated, drained, and cleaned. Dirty tube sheets hide small leaks, so cleaning always comes first.
Your preparation checklist should include:
- Isolate the exchanger from the process and obtain work permits
- Drain and clean both the shell side and tube side completely
- Install blinds, plugs, and test flanges rated for the test pressure
- Remove or isolate safety valves and instruments that cannot handle test pressure
- Fit calibrated pressure gauges with a range of 1.5 to 4 times the test pressure
- Arrange a clean water supply, ideally demineralized water for stainless steel units
Step by Step Hydrotesting Procedure
The shell side and tube side are always tested separately, so leaks at the tube to tube sheet joints can be seen from at least one side. Here is the standard sequence used across refineries and petrochemical plants.
Step 1: Fill with water. Open the vent valve and fill the side under test slowly through the lowest connection. Keep venting until all trapped air escapes, then close the vent.
Step 2: Pressurize gradually. Raise the pressure in steps, holding for about five minutes at each stage. Never jump straight to full test pressure, as sudden pressurization can damage gaskets and joints.
Step 3: Hold the test pressure. Once you reach 1.5 times the design pressure, hold it for 30 minutes to one hour. A stable gauge reading means the exchanger is tight. Any pressure drop points to a leak.
Step 4: Inspect thoroughly. Check tube ends, tube sheet joints, gaskets, flanges, and welds for weeping, dripping, or sweating while the unit is under pressure.
Step 5: Depressurize and drain. Release the pressure slowly, drain the water, dry the unit, and reinstate all valves before returning it to service.
How to Perform Leak Testing of Heat Exchangers
When hydrotesting confirms a leak, the next task is finding exactly which tube is failing. This is where dedicated leak testing of heat exchangers comes in.
Common leak testing methods include:
- Air testing with soap solution: Low pressure air is applied to the shell side while soap solution on the tube sheet reveals bubbles at leaking tubes.
- Individual tube testing: Each tube is pressurized with air or water using tube testing guns to pinpoint failures quickly.
- Dye penetrant testing: Used on tube to tube sheet welds to reveal surface cracks.
- Helium leak testing: A highly sensitive method for critical services where even micro leaks are unacceptable.
Once a leaking tube is identified, it is normally sealed with tapered plugs, either temporarily or permanently, and the exchanger is hydrotested again to confirm the repair.
Common Mistakes to Avoid During Testing
Even experienced crews make errors that lead to false results or damage. Watch out for trapped air inside the unit, which makes the test unsafe and unreliable. Never exceed the specified test pressure, and never substitute compressed air for a full hydrostatic test, as stored air energy can rupture a vessel violently. Also avoid uncalibrated gauges, skipping stepwise pressurization, and using dirty water that corrodes tube internals.
Industrial Machinery Est. | Trusted Heat Exchanger Experts in Jubail
Industrial Machinery Est. (IME) is the top heat exchanger cleaning and maintenance company in Jubail, delivering top notch industrial services since 1990. From mechanical and chemical cleaning to hydrotesting, leak testing, retubing, and complete overhauls, IME handles heat exchangers of every size for the petrochemical, refining, and power sectors across Saudi Arabia. Approved by Saudi Aramco, SABIC, Tasnee, and Marafiq, IME combines certified procedures with experienced crews to return your exchangers to service quickly and safely.
Final Thoughts
Hydrotesting and leak testing of heat exchangers are the most reliable way to prove your equipment can handle operating pressure without failure. Prepare properly, pressurize in stages, hold the test pressure, and inspect carefully. When in doubt, bring in specialists like Industrial Machinery Est. and keep your heat exchangers running leak free.